If you’ve never done a pedicure at home for yourself, you’ve come to the right place. We’re going to review how to do a salon-quality pedicure at home, and we’ll explain everything you need in order to conduct a salon-quality pedicure at home.
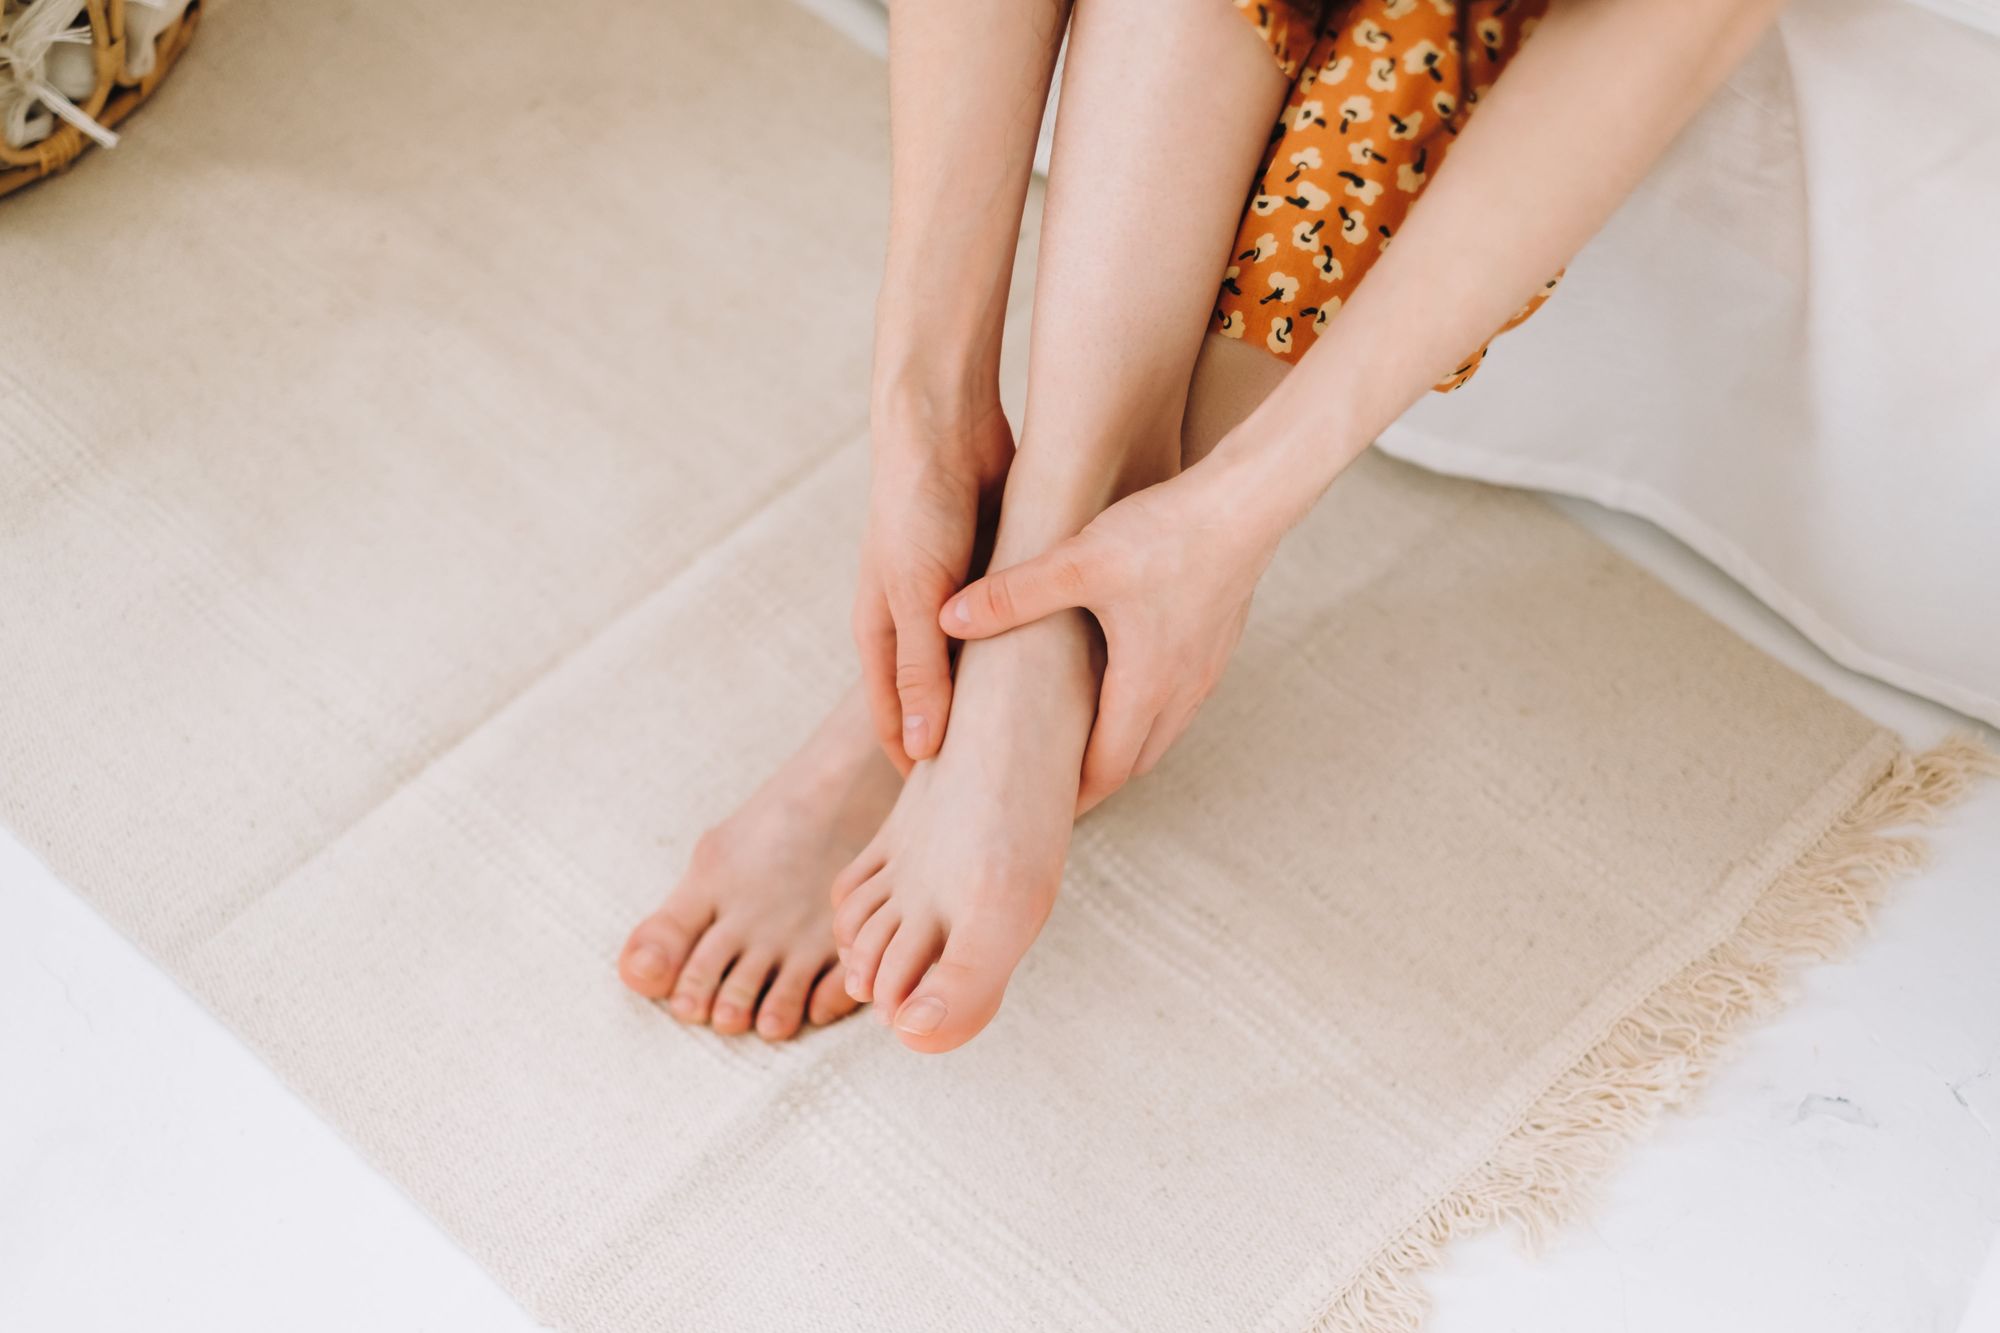
Summer means it’s time for sandals, showing off your feet, sinking your toes in the sand at the beach, and relaxing by the pool at a friend’s summer pool party. Of course, sometimes it’s harder to fully relax if you’re insecure that your feet don’t look their best.
Pedicures at salons are expensive, and it’s perfectly fine to treat yourself to a salon pedicure sometimes, but the problem is this: in the summer, much more frequent pedicures are required to upkeep your feet. If you can learn how to do a pedicure at home, you’ll save money, and you’ll be able to beautify your feet on a moment’s notice – even for short notice summer parties.
Beautifying your feet with a pedicure is an excellent form of self-care, and it increases your confidence. In general, you should be taking care of your feet, and conducting a pedicure at home should be part of your regular foot care routine. During the summer months, your feet are exposed to extra sweat, humidity, and heat – all of which can leave you feeling less than your best. Your feet are also undergoing more wear and tear in the summer if you tend to go hiking in the summer, or do lots of walking around outside in the summer.
The good news is you don’t necessarily need to splurge on an expensive professional pedicure every time you want to refresh your toes, buff away dry skin, and beautify your feet. It’s easier than you’d think to give yourself a fantastic pedicure at home, without the fancy salon.
What Supplies Are Needed For a Pedicure at Home?
The first step toward learning how to give yourself a pedicure at home, is making sure you have all of the right tools, equipment and pedicure products.
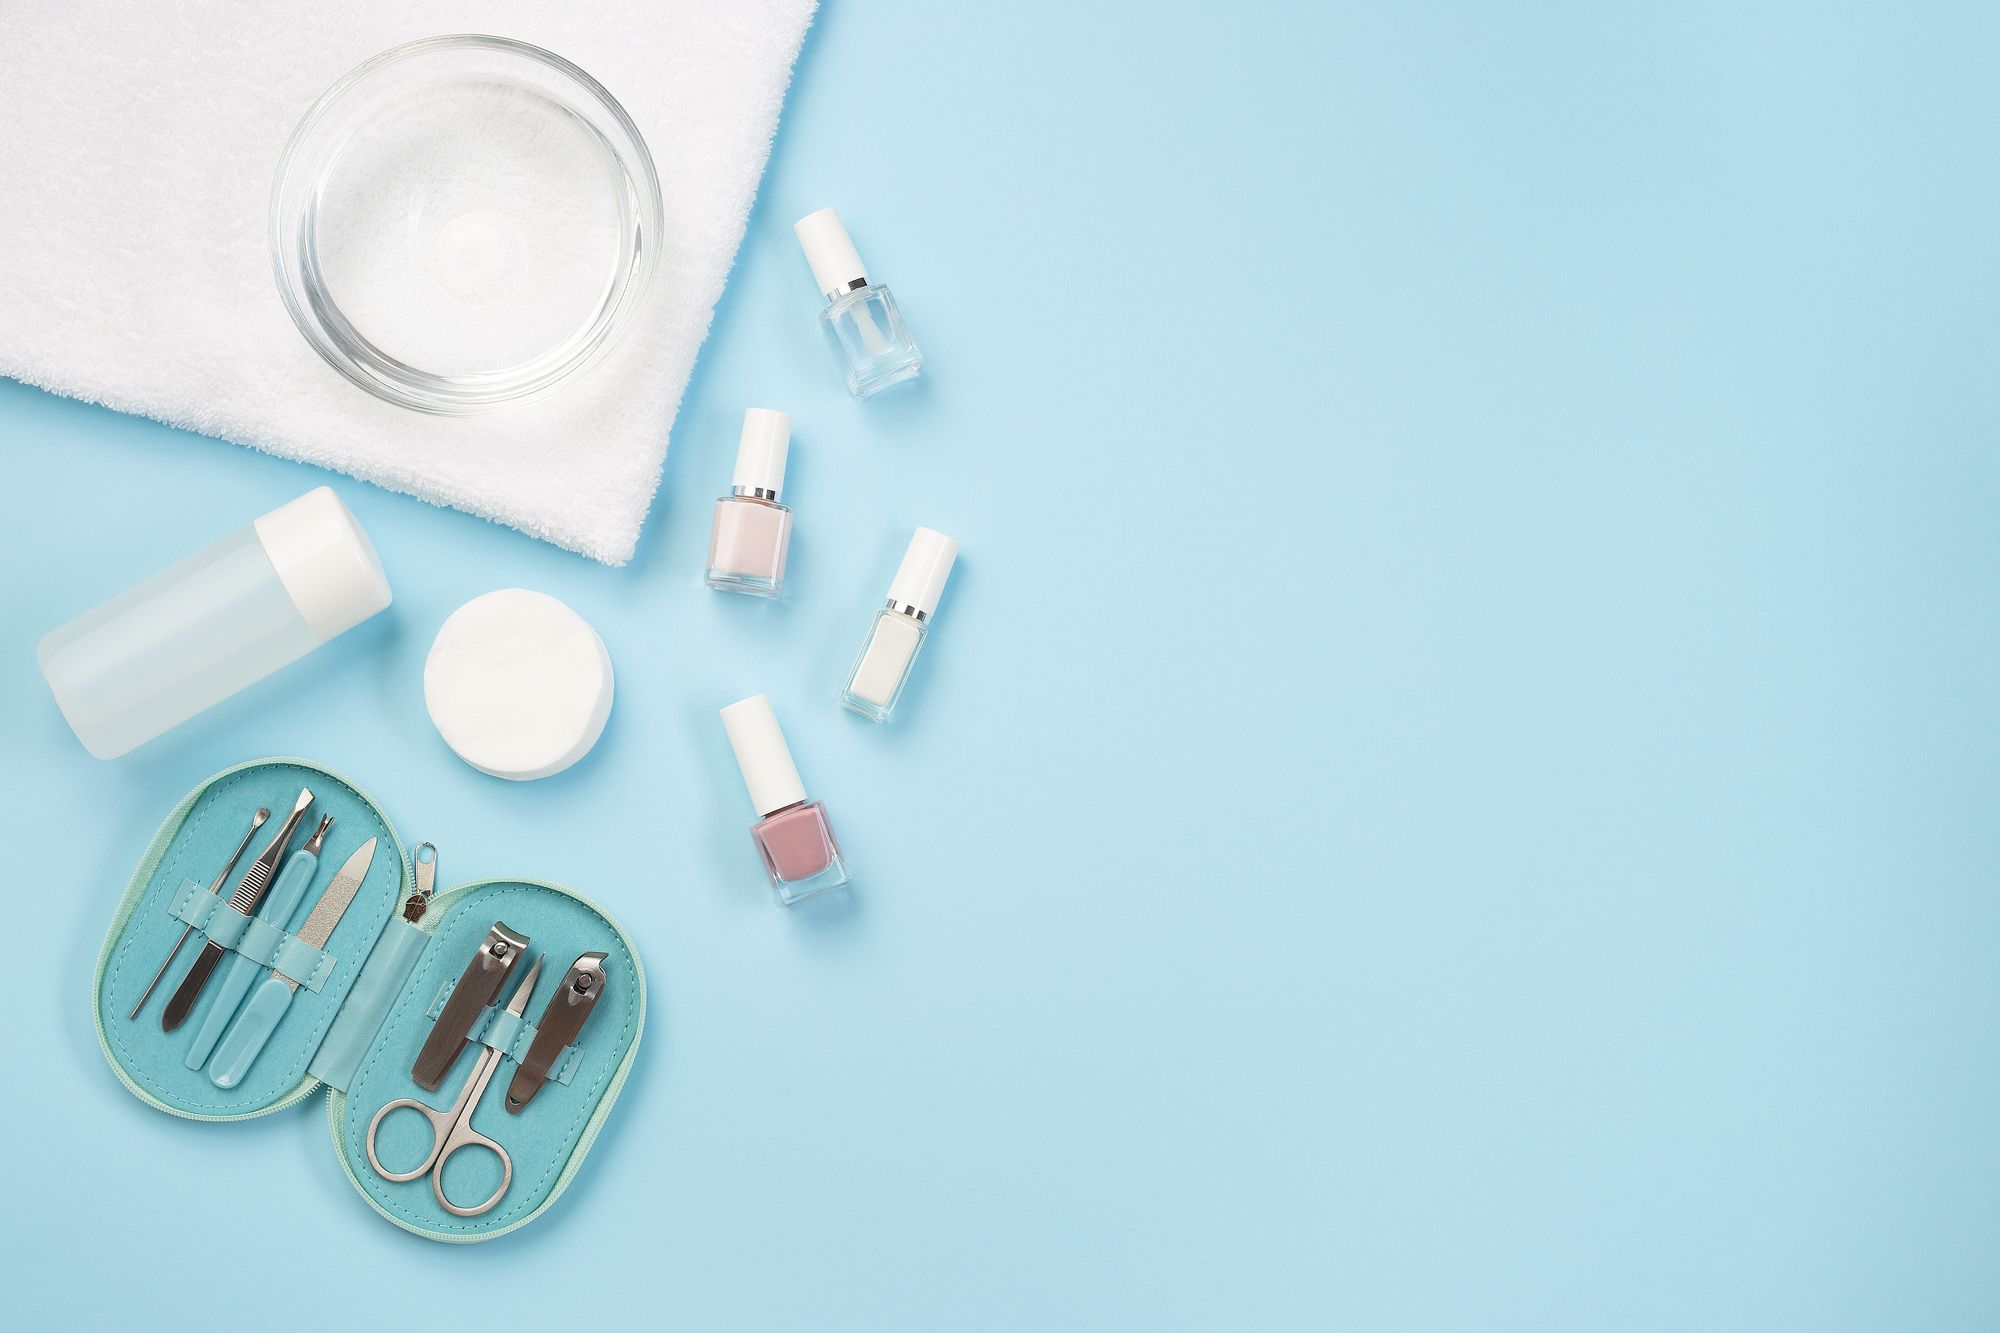
Before we explain how to do a pedicure at home, and in which order you should do each step, we’ll review some of the supplies you’ll need. The exact products you use will depend on your own personal preferences and the general condition of your feet, but it’s a good idea to stock up on some at-home pedicure essentials, such as:
- Nail clipper and file: Your nail clipper is how you get rid of the bulk of your excess nail when you’re trying to keep your toenails trim. A file can help you to create a more specific look, such as when you’re trying to create rounded nails or French tips.
- Cuticle oil: Feet and toenails can easily dry out in warm weather. To prevent your nails from becoming brittle, you’ll want a high-quality cuticle oil. Look for products which contain natural ingredients, such as honey and vitamin E.
- Nail polish remover: You’ll want to be able to get rid of any remnants of old polishes before you start painting your toenails again. A nourishing nail polish remover without the dehydrating acetone will clean up your nails and get them ready for a new look.
- Exfoliating scrub: A great pedicure includes plenty of care for your feet, which means scrubbing away dead skin. You can try an intensive foot peel, such as the baby feet foot peel if you have a lot of dry skin, or simply opt for a store-bought foot scrub.
- Foot lotion: Speaking of rehydration, it’s important to keep your feet well moisturized during the summer. This will help to prevent cracked heels and dry skin. Coconut butters, and products which contain aloe are great for keeping your feet refreshed. There are also special foot creams available at the drug store which may be especially good for dry feet.
- Foot bath or foot spa: If you don’t have a bathtub to soak your feet, you may want to consider getting a small foot bath or foot spa, so that you can soak your feet. In order to do a proper pedicure at home, you should be soaking your feet to soften the skin, for at least 10 minutes.
- Foot files or pumice stones: If you’re struggling to get rid of some of the tougher dry skin on your heels, you can also try a pumice stone or foot file. These assist with breaking down chunky callouses, to keep your feet looking smooth.
- Nail polishes: For the ultimate finished look from your pedicure, you’ll want a few different kinds of nail polish. This includes a base coat, for protecting and nourishing your nails, a color coat in your favorite shade, and a topcoat. The topcoat will prevent the polish from chipping too quickly.
You may also want to consider a handful of other products depending on how in-depth you want to get with your pedicure. Some people enjoy using nail nippers and cuticle pushers to take extra care of their nails. A toe separator can also come in handy when you’re applying your polish. Those with especially thick layers of dry skin on their feet may need to go to a salon where they’ll use a razor to remove the excess skin. Using a foot razor by yourself at home is not recommended, but using a pumice stone is a safer option for a pedicure at home.
Step-by-Step Guide to Your At-Home Pedicure
Once you have all the supplies you need for a pedicure at home, you’re ready to learn how to do it. We recommend keeping all of the products you need close by, so you don’t have to run around on wet feet to grab your nail file or polish. It’s also a good idea to have a basin full of warm water, a bathtub of warm water, or a foot spa, for the initial stages of soaking and cleaning your feet.
Step 1: Prep Your Nails
The first step in enjoying a fantastic home pedicure is prepping your nails. Start by using a toenail clipper, to clip any excess nail that might have grown out over time. Clip your toenails straight across, leaving them long enough to ensure the corners still lie loosely against the skin at the sides. This helps to reduce the risk of in-grown nails.
You can use your nail file to get rid of any extra uneven bits of nail, to ensure your nails look as straight as possible. Once your nails are short enough, use your nail polish remover on a cotton pad to remove any residual polish you have from a previous pedicure.
If you notice any dark stains or yellowing on your nails, try massaging cuticle oil into the surface of the nail.

Step 2: Soak Your Feet
Once any cuticle oil you’ve applied has soaked in, prep your bathtub, basin or foot spa with warm water. If you use your bathtub, simply sit on the edge of the bathtub with your feet soaking in the water. The temperature of the water should be warm, not hot.
If you really want to create a salon-style pedicure experience, you could also add some extras to the water, such as some skin-soothing Epsom salt or essential oils. Nourishing bubble baths can also be an excellent option for a little extra fun. Allow your feet to soak in the water for at least 10 minutes, but not more than 20 minutes.
Soaking your feet in warm water helps promote better blood circulation, reduces foot pain, and loosens the skin on the feet so that it more easily comes off during your pedicure at home.
Step 3: Scrub Your Feet
Once you’re almost ready to step away from the tub, after your foot soak, grab your foot scrub and use it to give your feet a really good scrub. As you scrub your feet (not gently, by the way) you’ll be removing dead skin along the way. You can then rinse your feet afterward and you’ll immediately notice how much softer and smoother your feet are, but you’re not finished yet. There are more steps involved to remove excess skin on your feet, dead skin and dry skin.
Step 4: Remove Excess Dead Skin
Nothing quite boosts the quality of a pedicure at home like getting rid of all that dry skin. Not only does cracked, dry skin on your feet look unapppealing, but it also feels uncomfortable. It feels great to get rid of it.
Once you step out of your tub, foot spa or basin, pat your feet dry with a nice soft towel, and grab your pumice stone or foot file. Work carefully and slowly on your calluses, to ensure you don’t do any damage to the surrounding skin. You may need to pay particular attention to your heels, and the dry areas of your feet, so give yourself plenty of time.
Gently rub or scrape until your feet feel smooth, but stop if you start to feel any discomfort or irritation. A foot file (which sort of looks like a cheese grater) is best used gently, when the skin on your feet is softer and looser from a foot soak.
If you’re using a pumice stone, it’s often a good idea to rub in a gentle, circular motion to remove as much dead skin as possible. You can rinse your feet again if you feel you need to at the end.
Step 5: Shape and Oil your Nails
After you’ve soaked your feet for a while, you might notice the shape of your nails are still a little off. You can use a nail file to get into the corners and edges until you feel your nails look as beautiful as possible. Try to avoid filing too far, however, as this can be bad for your toes.
Next, focus on your cuticles. If you have a cuticle pusher, you can push the cuticles on your toenails back slightly, but avoid trimming or cutting by yourself. You could end up cutting away more skin than you should. Your cuticles are crucial for protecting your nails from bacteria.
Some people don’t like the look of short, stubby toenails. Pushing the cuticles back with a cuticle pusher tool is a great way to make your toenails look a little longer.
Place a small amount of cuticle oil on each nail and massage it into the surface. This will make a huge difference to the shine and strength of the nail, as well as helping to chase away any discoloration.
Step 6: Massage Feet with Lotion
While your nails are soaking up all of that fantastic oil, work on moisturizing your feet. Dermatologists recommend using lotions with ‘humectants’, which help draw water into the skin. Products with hyaluronic acid and glycerin are often quite effective.
To really get the most out of the moisturizing experience, combine your foot lotion application with a DIY foot massage. Begin by warming your feet up by using the whole palm of the hands to rub your feet in big strokes. Then make a fist and use the knuckles on your hands to run up and down your feet as an awakening massage. Gently massage each individual toe, then move to the balls of your feet, up through the arch of your foot, massaging with your thumbs, and into the heel. You can also massage your ankles and calves at the same time, moisturizing those areas as well.
You can massage your feet for as long as it takes for all the cream or lotion to soak in, or simply until you feel you want to stop. Since you’re enjoying your pedicure at home, you don’t have to worry about time. This will help to hydrate your skin, while loosening some of the tightness in your muscles and reducing foot pain.
Step 7: Paint Your Nails
This is probably the most challenging and most fun part of doing your own pedicure at home. It’s a chance for you to be as creative as you want, but it also requires a steady hand and concentration. Remove any excess oils from your nails which might stop the polish from adhering using a cotton pad and some rubbing alcohol.
When that’s dry, add your base coat. This is a crucial step, as the base coat acts as a barrier between the natural oils in your nails and your polish. It helps to make your pedicure last longer and protects your nails from discoloration and damage.
When your base coat is dry, you might want to use a set of toe separators to help you cleanly apply your colored polish. Alternatively, you can use some rolled up paper towel or rolled up tissue between your toes. Apply two thin coats of your ideal color. If you accidentally ‘color outside of the lines’ and make a bit of a mess, use a Q tip with a tiny bit of nail polish remover on it, to clean up.
Finally, finish up with a topcoat to prevent your color from chipping. The topcoat will seal your nails and give them a fantastic shine.
Maintaining Your Feet at Home
Enjoying a pedicure at home is one of the best ways to pamper, heal, beautify, and protect your feet. In the summer months, when you’re going to be showing off your feet more often than usual, it’s worth practicing your DIY pedicure techniques from time to time so you can reduce your pricey trips to the nail salon.
Remember, you don’t need to apply polish every time, either. Simply massaging, scrubbing and soaking your feet can be an excellent way to keep them in great condition. Many people do their pedicure at home regularly in order to prevent the buildup of dry skin, and keep their skin soft and comfortable – so it’s not always about toe art. The skin on your feet requires regular effort to keep in good condition.
In general, the condition of the skin on a person’s feet is often genetic. If one of your parents struggles with excess skin, hard skin, dry or cracked skin on the feet, you might experience this issue as well.Skin traits are often genetic, and one of the 500 reports you receive about yourself in a DNA test from CircleDNA is a genetic skin traits report. Check it out, and get more information about how to best care for your skin.
References
- Ingrown toenail: How to cut toenails properly (National Library of Medicine) https://www.ncbi.nlm.nih.gov/books/NBK513131/#:~:text=It’s%20important%20to%20make%20sure,into%20a%20pointy%20V%2Dshape.
- What Is a Cuticle and How Can You Safely Care for It? (Cynthia Cobb, DNP, APRN, WHNP-BC, FAANP) https://www.healthline.com/health/cuticle#:~:text=The%20cuticle%20function%20is%20to,that%20your%20nails%20stay%20healthy.


Comments are closed.