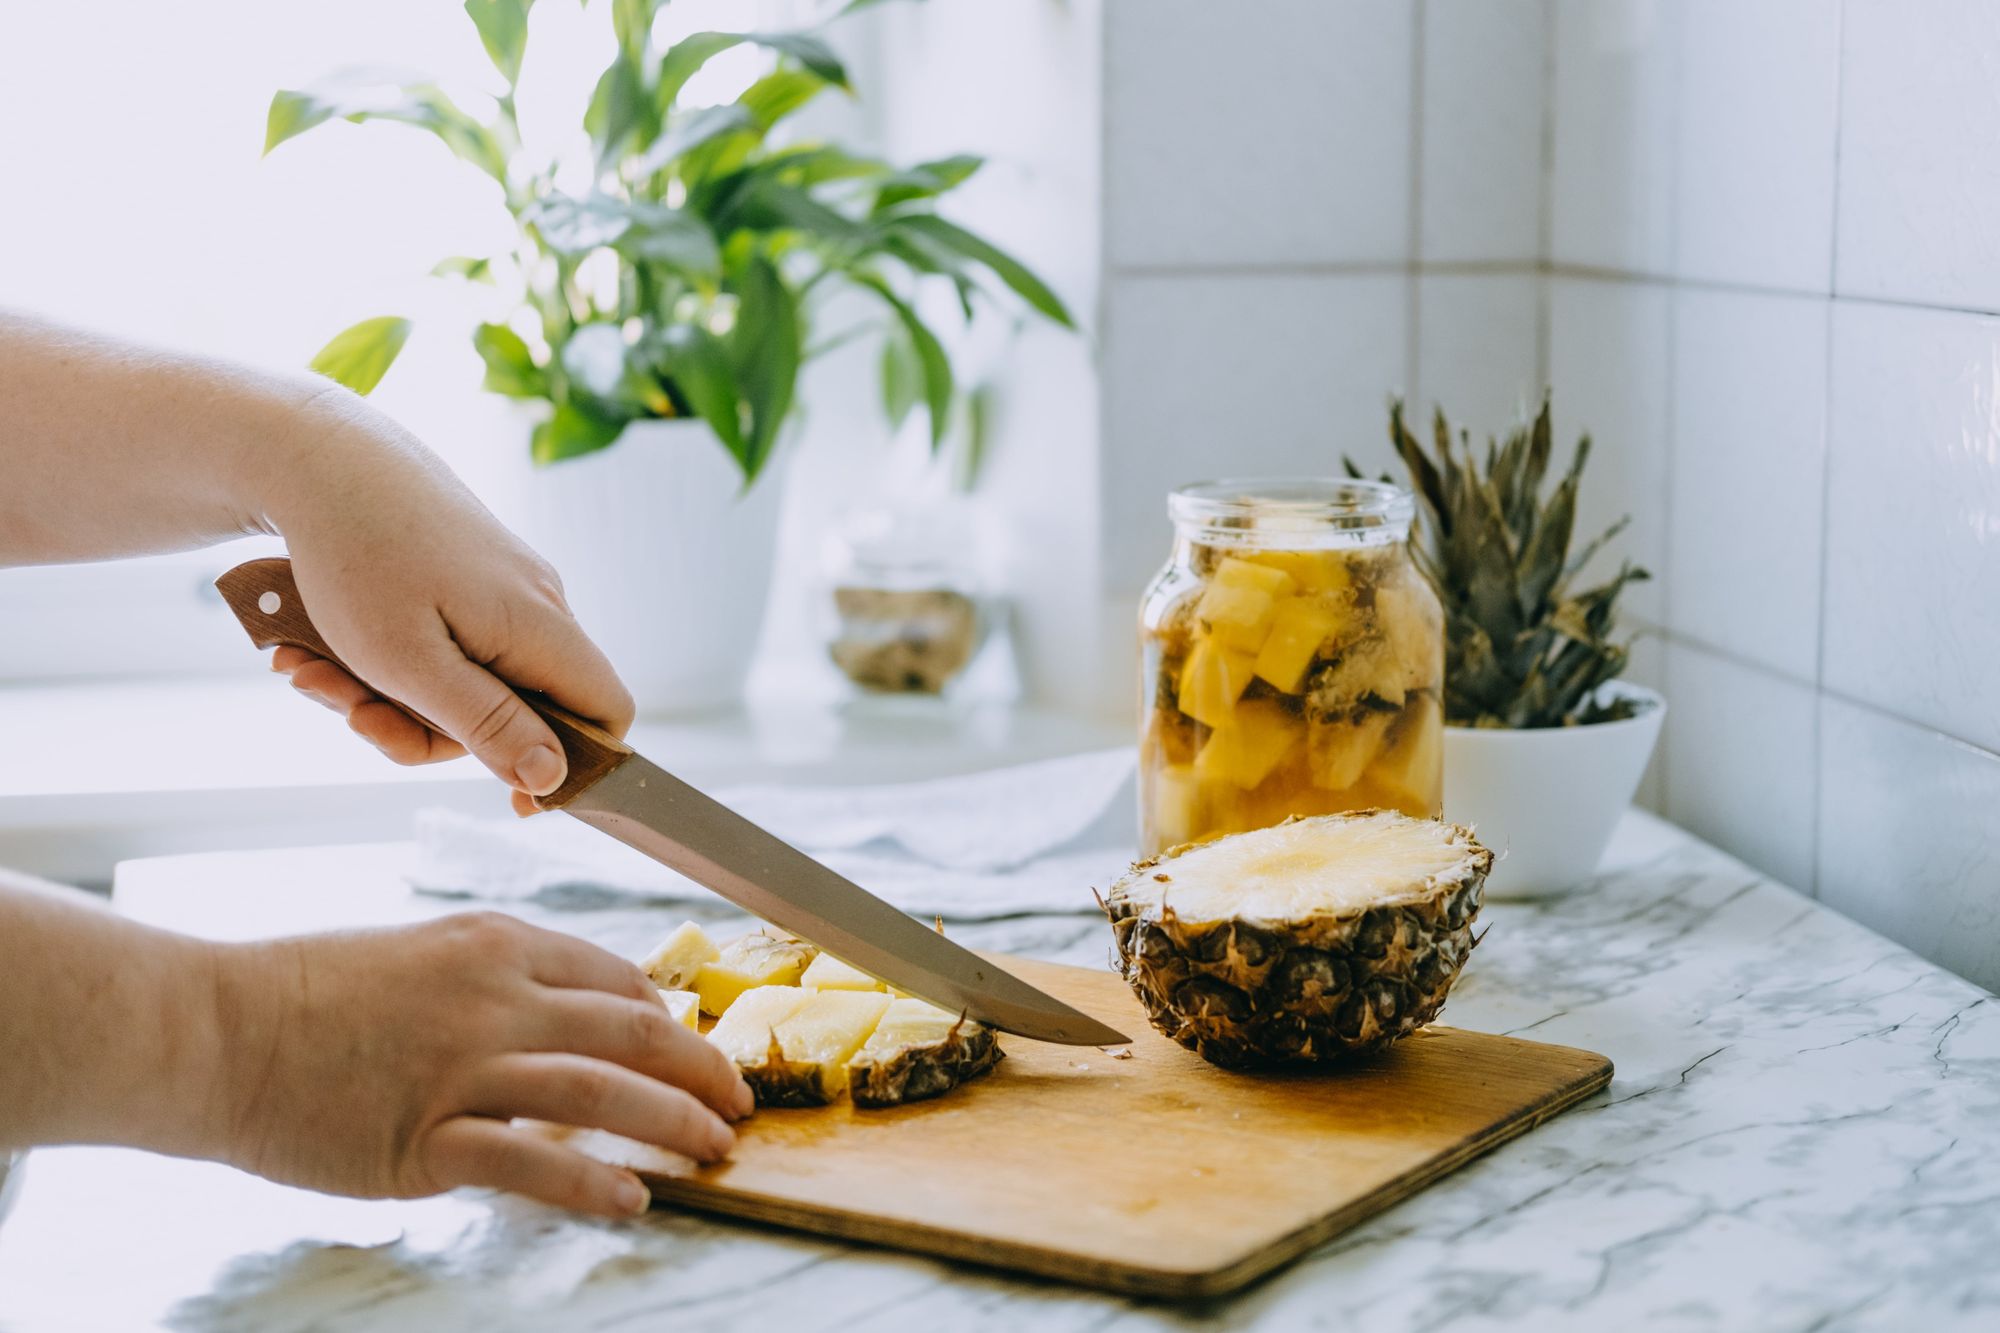
Gut health has become a very popular topic among wellness enthusiasts lately, and homemade kombucha is an excellent way to reap the gut health benefits of kombucha. If you learn how to properly make your own kombucha, you’ll be learning how to make a dairy-free beverage that feeds the good bacteria that live in your gut the probiotics they love.
Kombucha is a fermented fizzy drink typically made from tea and organic sugars. Originating in Northeastern China, kombucha has been consumed for thousands of years due to its amazing health properties such as helping balance gut flora and managing your blood sugar levels. Kombucha can also be a great source of antioxidants, especially when made with green tea. This is because of the symbiotic culture of bacteria and yeast, or SCOBY. A SCOBY is a gelatinous blob that lives in kombucha liquid and helps it ferment. It lives off the sugar that you put in your kombucha and converts it to alcohol, acid and carbon dioxide, giving kombucha its signature fizz.
You might be shocked at the amount of sugar most kombucha recipes call for, but rest assured that you won’t actually be consuming the sugar when you drink the kombucha. The sugar is for the SCOBY to eat, not you.
However, most kombuchas do contain small amounts of sugar you’ll consume, roughly 1-5g per 100 mL serving. Store-bought bottled kombucha tends to have more sugar than homemade kombucha, so if you’d like to reduce your sugar intake by learning how to make your own kombucha, read on for some safety tips and a step-by-step guide to brewing your own kombucha at home.
Homemade Kombucha for Beginners: Can You Make Your Own Kombucha At Home?
Yes, you can absolutely make your own kombucha at home. Making homemade kombucha is incredibly easy and requires very little prep work. All you need is green or black tea, some white sugar, a large vessel, some swing-top or other type of sealing bottles, and a SCOBY. You can grow your own, order a dehydrated SCOBY online or, if you know someone who brews kombucha, take a piece of theirs. You can use decaffeinated tea if you prefer to drink your kombucha in the evening.
One batch of kombucha takes approximately 3-4 weeks to brew from start to finish, although the time required varies depending on your taste. If you prefer a sweeter kombucha, making it might only take as little as 7-10 days.
Despite the long prep time, kombucha is a relatively ‘hands-off’ project. Once the tea is brewed, your kombucha can just sit and ferment. It’s a good idea to keep an eye on it, checking for mold growth or for any debris that might have fallen in, in which case you’d have to make a new batch for safety reasons.
Homemade Kombucha Safety Tips
Making kombucha at home is easy and safe. However, it’s important to keep in mind that, when dealing with bacteria, there is always the potential for harmful bacteria to grow in homemade kombucha. To make sure that your kombucha is safe to drink, follow these safety tips:
- Always use clean utensils, jars and bottles.
- Always use clean hands when handling your SCOBY
- Boil your tea completely
- Do not use herbal or fruit-flavored teas
- Always use the proper measurements
How To Make Your Own Kombucha: A Step-By-Step Guide
Step 1: Begin making homemade kombucha by boiling 1 quart of water.
Step 2: Once the water reaches a boil, add 1 cup of white sugar and stir until the sugar has completely dissolved.
Step 3: Remove the water from the heat and add approximately 8 green or black tea bags. Be sure to use plain tea, without any added flavors, as the oils and acids from flavored teas can be harmful to your SCOBY. Let the tea stand until it has reached room temperature. If you add the SCOBY to the tea while it is still too hot, it could die.
Step 4: Once the tea is at room temperature, remove the tea bags and transfer the tea into a 1-gallon glass jar. Add more water to dilute the tea, around 2 ½ quarts, and stir once more.
Step 5: Add in 2 cups of reserved kombucha. Be sure to use unflavoured kombucha. There is no need to strain or filter the reserved kombucha. Any floating bits or chunks will help the kombucha ferment.
Step 6: Mix well.
Step 7: Once the tea is at room temperature and all of the liquids have been incorporated, you can put your SCOBY back in the jar with the rest of the tea. You might notice that your SCOBY sinks to the bottom, or floats on its side. It may also just float in the middle of the jar. Rest assured that one position is not better than the other. A SCOBY that sinks is still a healthy SCOBY and wherever your SCOBY decides to rest is fine. If your SCOBY fits awkwardly into the vessel, that’s fine too. Your SCOBY can change its shape to fit into whatever vessel it lives in.
Step 7: Once your SCOBY is back in the kombucha liquid, cover the jar with a few layers of cheesecloth, a cloth napkin or a clean dish rag or tea towel and secure it with a rubber band. Do not seal your kombucha with a lid. Your SCOBY needs to breathe, and the covering is only meant to keep dust, bugs and other debris out of your kombucha liquid.
Now you just need to wait a minimum of 7 – 14 days.
Other Tips for Homemade Kombucha
Keep your jar somewhere that maintains a steady room temperature, out of direct sunlight, but not too cold. There is no need to keep it in complete darkness, but exposure to direct sunlight will cause the temperature to rise and will alter the fermentation process.
Ideally, you want your kombucha to maintain a constant temperature, between 70 degrees F and 75 degrees F. A higher temperature will cause the kombucha to ferment more quickly, while a cooler temperature will slow down the process.
Now all that’s left to do is wait. Your kombucha should ferment for at least 7 days, but you can start drinking it whenever it tastes good to you. Keep in mind, however, that in the first few days your SCOBY has not eaten all of the sugar yet, so your kombucha will taste sweet. The longer it sits, the more vinegary it will taste. A vinegary smell coming from your kombucha is nothing to worry about. In fact, it’s a sign that your kombucha is fermenting properly.
There is no maximum or minimum time that kombucha needs to ferment, it depends entirely on your taste preference. If you like a really tart kombucha, you can leave it for 3-4 weeks. Just be sure to continue checking up on it and watch for signs of mold.
Bottling Your Homemade Kombucha
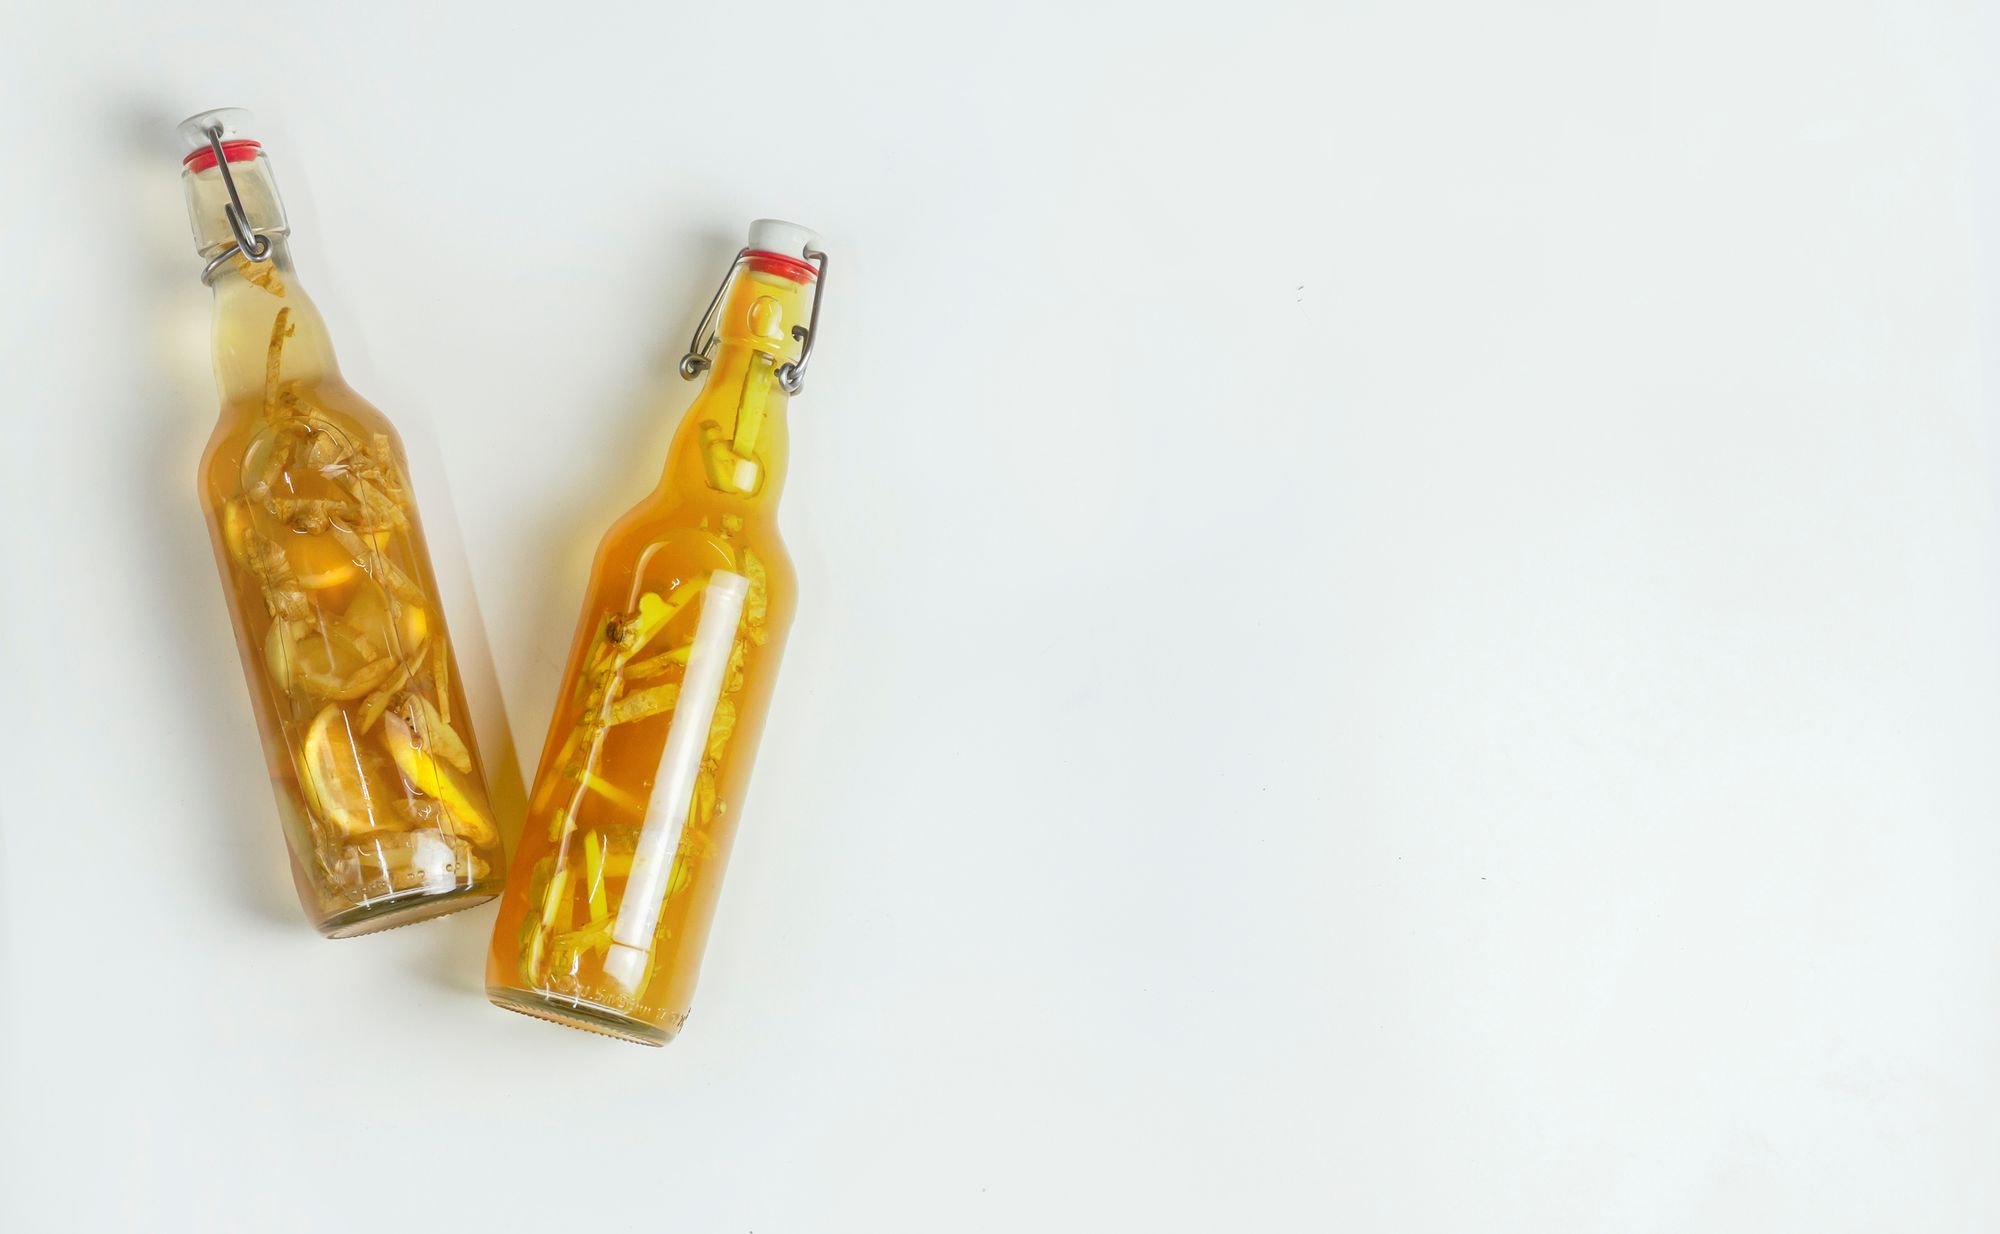
When your kombucha tastes good to you, it’s time to bottle it. Place your SCOBY in a clean bowl and add 2 cups of kombucha from the jar. This will be your reserved kombucha for your next batch. Then, pour the remaining contents into clean, tight-sealing glass bottles. If you like, you can add some fruit, juice, or herbs to flavor your kombucha, or leave it plain.
Now, you can either drink your kombucha right away or leave it to sit for a few more days to get nice and fizzy. If you prefer fizzy kombucha, leave it in tightly sealed bottles somewhere out of the way of direct sunlight for an additional 1-5 days. Beware that kombucha left unrefrigerated for longer than that might build up too much carbonation and might shatter the bottles. However, if you really want to leave your kombucha longer than 5 days, you can ‘burp’ your bottles by opening them up to relieve some of the carbonation before sealing them again. There is no need to burp your bottles every day.
When your kombucha is ready to drink, place the bottles in the fridge to stop the carbonation process. Leave them for an additional 24 hours before drinking and consume them within 2 weeks.
Drinking Kombucha: The Bottom Line
Your gut microbiome is a complex and delicate environment that relies on good bacteria to help maintain stasis, but some people have a gut that is more sensitive to changes than others. A number of things can affect the balance of your microbiome, including your genetics.
To find out your optimal diet plan based on your genetic makeup, read your diet and nutrition profile from CircleDNA. This at-home DNA testing kit provides you with over 500 reports about yourself, including diet tips, personality traits, genetic behavior traits, success traits, your ancestry report, and more.


